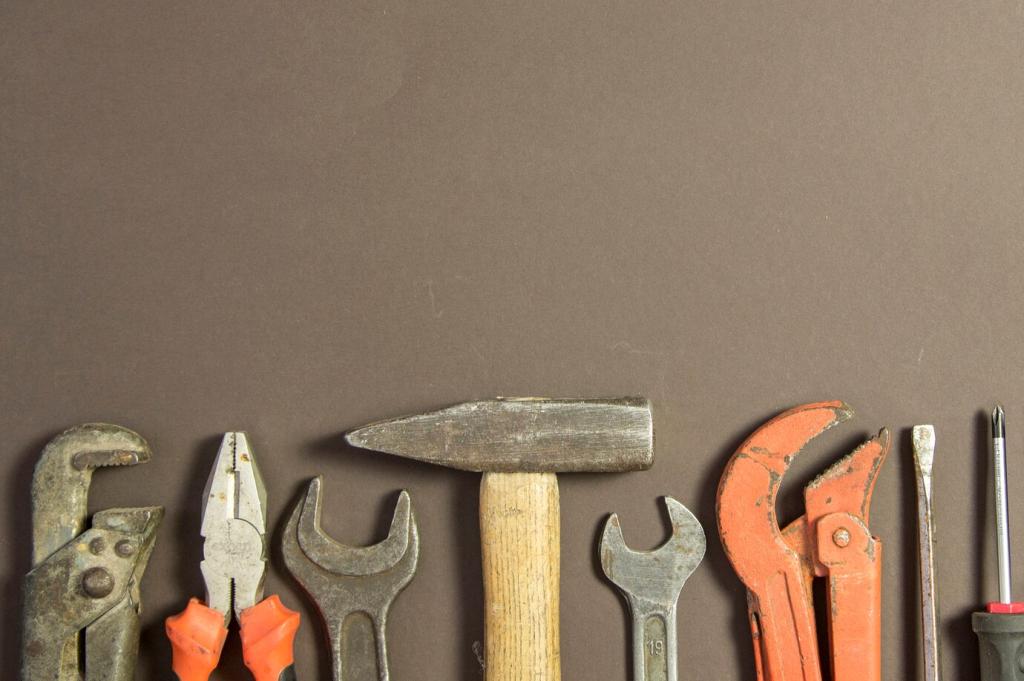
Revive and Restore: Wood Furniture Repair Kits and Tools

Chosen theme: Wood Furniture Repair Kits and Tools. Step into a practical, creative space where scratches become stories, wobbles find balance, and heirlooms regain their glow—with approachable techniques, friendly guidance, and community support you can trust.

Inside the Box: Understanding Wood Furniture Repair Kits and Tools

Fillers, Putty, and Touch-Up Colors

From wax fill sticks to tinted putties and furniture markers, each item targets a specific blemish. Learn when softness is strength, how color layering hides flaws, and why testing on scrap wood prevents heartbreaking mismatches.

Adhesives, Clamps, and Precision Guides

PVA glue, hide glue, and cyanoacrylate each shine in different situations. Pair the right adhesive with smart clamping and alignment blocks to correct racked frames, tame wobbly legs, and keep joints square while curing.

Cleaners, Degreasers, and Prep Tools

Before any repair, remove wax, oils, and grime that sabotage adhesion. Naphtha, mild degreasers, and white pads reveal true color. Good prep is the quiet superpower that turns quick fixes into durable, nearly invisible saves.

Soft Wax vs. Hard Fill: Choosing the Right Filler

Soft wax blends fast for superficial scratches, while hard fill or burn-in sticks strengthen deeper defects. Feather edges with a plastic card, then lightly grain with a crayon to mimic lines before setting sheen to match surrounding areas.

Steaming Out Dents Without Sanding Away History

A damp cloth and a household iron can lift compressed fibers. Protect the finish, apply steam in short pulses, and pause to assess. It is a gentle technique that preserves original surfaces when sanding would erase character.

Level, Blend, and Disappear the Repair

After filling, level carefully with a scraper or fine paper. Blend color in thin passes using markers and powders. Finish with a matching sheen—matte, satin, or gloss—so the eye glides past your repair without stopping.

Stronger at the Joints: Structural Repairs with Common Kit Tools

Disassemble gently, removing old, brittle glue with warm water or careful scraping. Dry-fit parts, then apply fresh adhesive and clamp with cauls to distribute pressure. Mark alignment so the piece cures square and rock-solid.

Stronger at the Joints: Structural Repairs with Common Kit Tools

When screws spin, use hardwood toothpicks and glue, or drill and install a dowel for a clean, fresh bite. Pre-drill pilots, wax threads lightly, and cinch snug without over-torquing. Your kit’s simplest pieces can save the day.

Stronger at the Joints: Structural Repairs with Common Kit Tools

Angle brackets, corner blocks, and biscuits can hide beneath rails and shelves. Match wood species when possible, or stain blocks to blend. The strongest repairs are the ones nobody notices—only the renewed stability gives them away.

Stronger at the Joints: Structural Repairs with Common Kit Tools

Lorem ipsum dolor sit amet, consectetur adipiscing elit. Ut elit tellus, luctus nec ullamcorper mattis, pulvinar dapibus leo.

Color Matching and Finishing Touches with Repair Tools

Start light and build gradually. Use a base marker, then dust in pigment powders for warmth or depth. Lock it with a light coat, reassess under daylight, and adjust. Subtle layers beat one heavy, irreversible pass every time.

Essential Tools in Action: Getting the Most from Your Kit

A tuned scraper levels fills without rounding details. Follow with high grits only where needed. Replace worn paper frequently, keep dust contained, and work narrowly so original finish remains intact around the repaired area.

Prep, Safety, and Kit Care for Long-Term Success

Open windows, use a fan with a safe airflow path, and wear a respirator when spraying. Nitrile gloves, eye protection, and hearing protection round out the basics. Tell us your go-to setup, and we will feature clever shop layouts.

Prep, Safety, and Kit Care for Long-Term Success

Organize fillers by color families, date your glues, and keep markers capped tight. A small silica pack inside the kit reduces moisture. Post a photo of your kit organization; neat setups help everyone repair faster and cleaner.

Stories from the Bench: Real Wins with Wood Furniture Repair Kits and Tools

Grandpa’s Desk and the Wax Stick That Saved a Story

A reader shared how a single wax fill stick softened a jagged gouge on an inherited desk. After blending grain and dialing sheen, the scar turned into a whisper. Share your save; your story might be tomorrow’s motivation.

Before-and-After: Your Photos, Your Progress

Document lighting, angle, and steps so others can learn. Post your sequence—prep, fill, level, color, finish—and note which tools mattered most. Comment with challenges you faced, and our community will brainstorm options together.

Keep the Momentum: Subscribe and Join the Discussion

Want deeper dives on adhesives, color theory, or structural triage? Subscribe for weekly guides, tool tests, and printable cheat sheets. Ask questions below—your curiosity shapes our next tutorials on wood furniture repair kits and tools.
Kunsung
Privacy Overview

This website uses cookies so that we can provide you with the best user experience possible. Cookie information is stored in your browser and performs functions such as recognising you when you return to our website and helping our team to understand which sections of the website you find most interesting and useful.