Welcome to your friendly workshop for quick, confident furniture fixes. Today’s chosen theme is “Guide to DIY Furniture Touch-Up Kits,” where we turn scratches, dents, and scuffs into satisfying small wins you can proudly share.
These are your first line of defense for light surface scratches and worn edges. Choose hues that match your furniture’s undertone, and layer thinly to avoid a muddy, over-dark result.
Is it oak, walnut, maple, or cherry? Is the surface lacquered, oiled, or polyurethane coated? A quick test with a drop of water or alcohol can help determine the finish you’re working with.
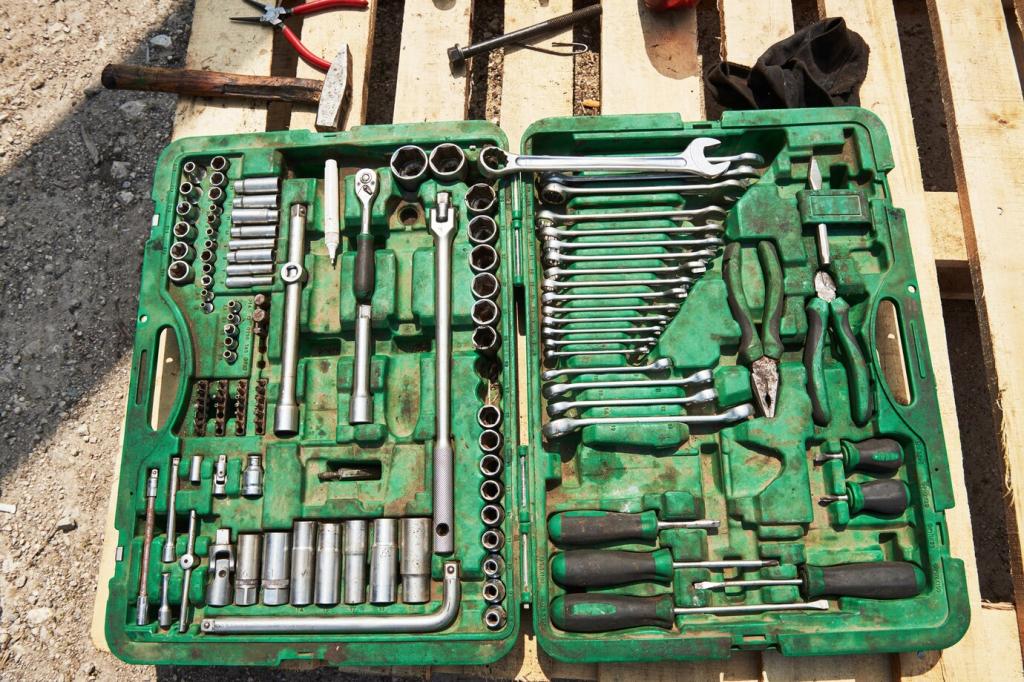
Choosing the Right Kit for Your Wood and Finish
Color is only half the story; sheen sells the illusion. Keep matte, satin, and gloss options handy so your final pass mirrors the original glow without drawing the eye.
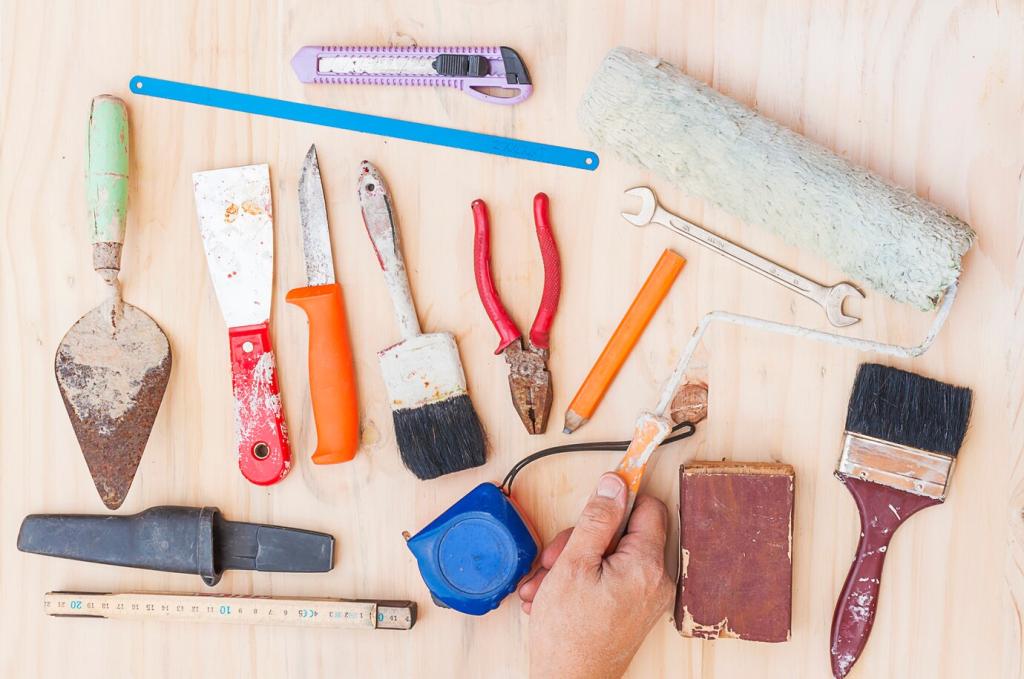
Preparation and Testing: Small Steps, Big Payoff
Clean the Area Thoroughly
Dust, wax, and oils prevent adhesion and color accuracy. Wipe with a gentle cleaner or mineral spirits, then dry completely so pigments sit true and fillers grip reliably.
Always Test in a Hidden Spot
Behind a leg or under an apron, try your color and sheen first. One minute of testing saves you from over-dark patches that are far harder to correct later.
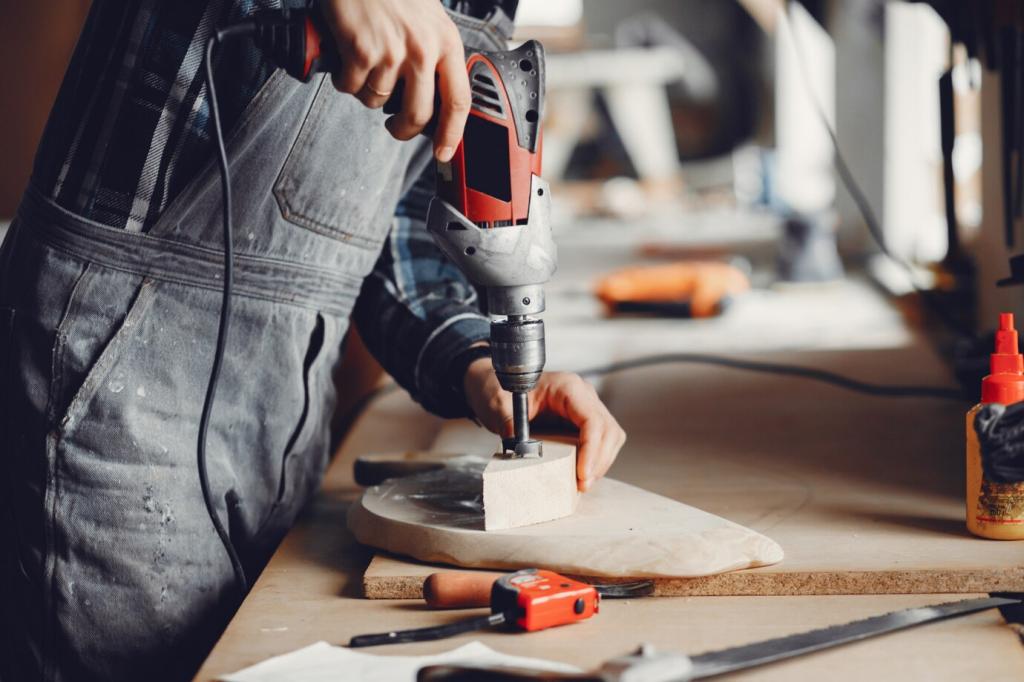
Step-by-Step Repairs: Scratches, Dents, and Chips
Surface Scratches and Worn Edges
Feather the area with a fine pad, then apply light strokes of a matching marker. Build color slowly, buff gently, and seal with a compatible topcoat to lock in the blend.
For shallow dents, a wax filler stick pressed and leveled with a plastic scraper works wonders. Recreate grain with a darker marker, then soften transitions with a clean cloth.
Use putty or a harder wax for crisp edges. Shape carefully while soft, color in layers to mimic grain direction, and finish with a sheen-matched topcoat for a seamless corner.
Use a fine-tip marker to add delicate lines that follow the wood’s flow. Break lines occasionally so the pattern looks natural, not drawn or overly consistent.
Blending Like a Pro: Grain, Tone, and Sheen
Start lighter than you think, then glaze with slightly darker tones. A touch of warmth or coolness at the end brings the repair to life without turning it opaque.
Overfilling or Overcoloring
If a repair sits proud or looks too dark, level with a fine pad and gently lift color using a soft cloth with a trace of solvent. Rebuild slowly with lighter strokes.
Rushing Between Layers
Impatience causes smudges and cloudy finishes. Give each coat time to set so colors don’t smear, then reassess in fresh light before applying the next layer.
Ignoring Sheen Mismatch
A perfect color can still look wrong if the sheen is off. Keep a small set of finishes and practice quick test sprays until your eye learns the right reflectivity.
A True Tale: The Heirloom Table Rescue
A reader wrote about a walnut table inherited from her grandmother, scarred by a hurried move. Chips on the apron and a white scratch across the top felt heartbreakingly permanent.
A True Tale: The Heirloom Table Rescue
She cleaned carefully, tested markers under the edge, and filled the apron chip with a warm-brown wax. Grain lines were added in two tones, then sealed with a soft satin mist.
Aftercare: Protecting Your Fresh Repair
Even when dry to the touch, coatings can still be tender. Give them time before placing decor or coasters, and avoid heat or moisture while the finish settles.
Aftercare: Protecting Your Fresh Repair
Skip harsh chemicals and abrasive pads. A soft cloth and pH-neutral cleaner protect the sheen you worked to match and keep grime from collecting in repair lines.