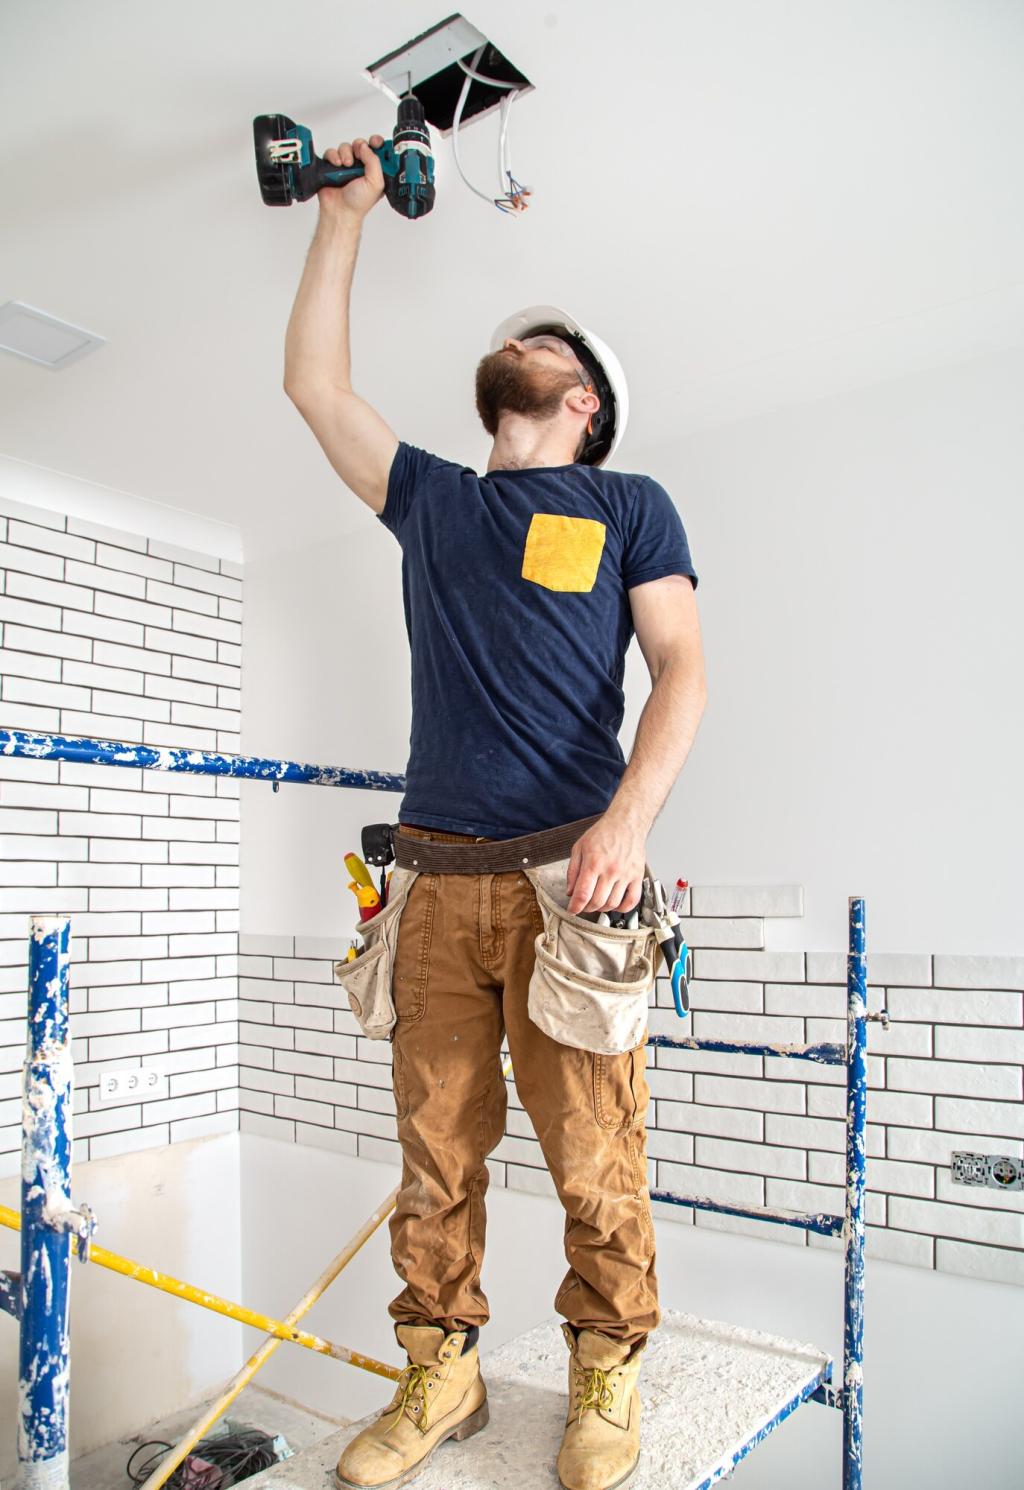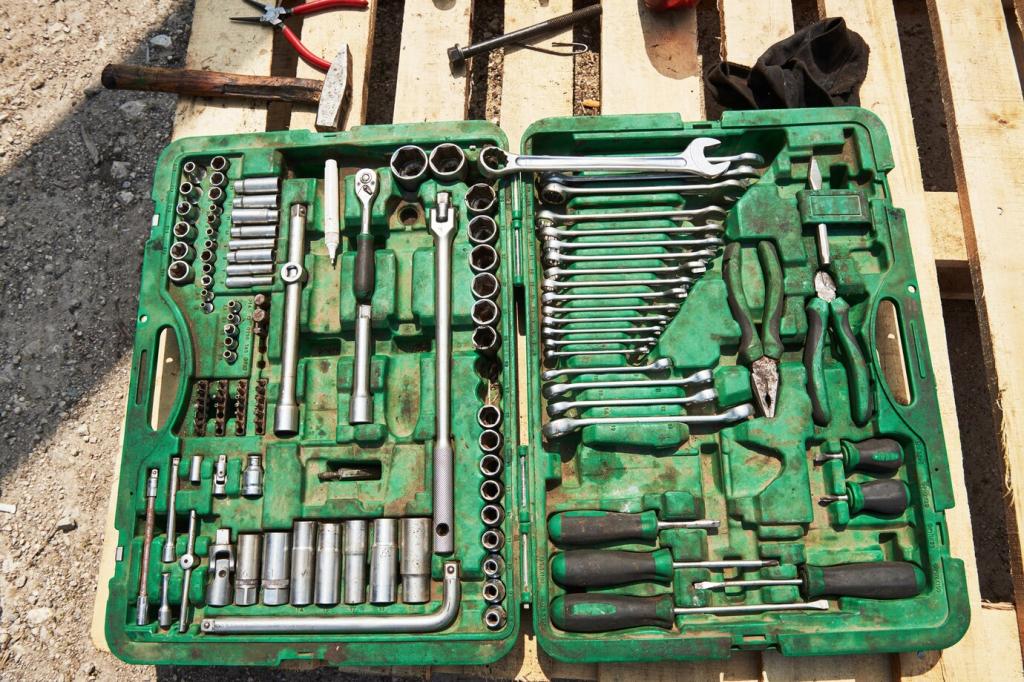
Repair and Joinery Rescue Tools
Stock PVA for general work and liquid hide glue for reversible repairs. Always dry-fit first, then use cauls for even pressure. Combine F-style, bar, and spring clamps to avoid shifting. Clean squeeze-out with a drinking straw and a damp rag. Want our clamp spacing guide? Subscribe and we will send the PDF.
Repair and Joinery Rescue Tools
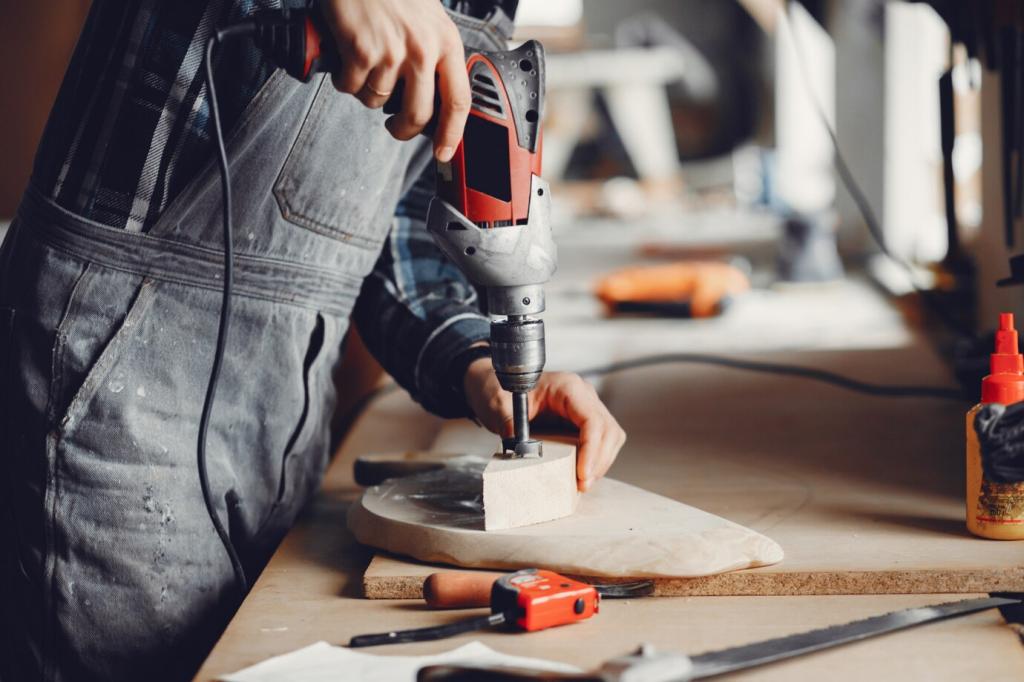
Label every part, knock joints apart gently, and scrape out old glue with a pick and sandpaper. Inject warm hide glue using a syringe, reassemble, and clamp square. A breakfast chair I rescued stopped creaking and felt brand new. Have a shaky heirloom? Describe the joint, and we will suggest a tool plan.